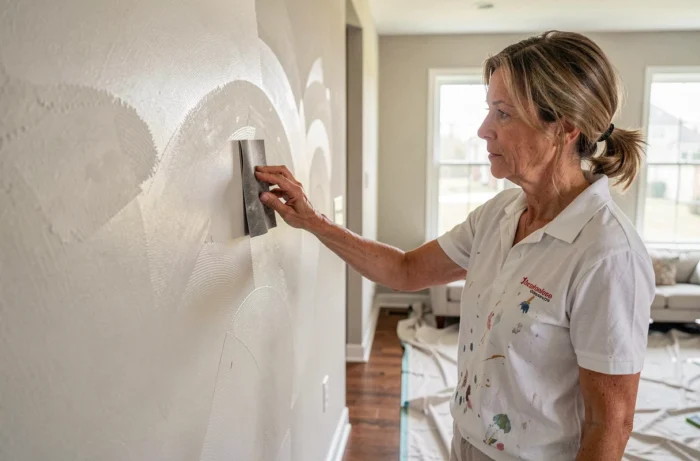
The roller marks on a freshly painted wall result from uneven material transfer between the tool and the surface. The paint, applied in thicker layers at the edges of the roller or in overlapping areas, creates visible buildups once dry. Understanding this mechanism allows for the selection of the right correction strategy and, above all, helps avoid reproducing the problem.
Uneven absorption of the substrate: the invisible cause of roller marks
Before blaming the technique or the tool, examine the wall itself. An unevenly absorbing substrate produces dull areas in the middle of a satin finish or color differences that resemble touch-up marks.
Areas filled with filler, unprimed drywall seams, or old stains treated with a fixer create different porosities. The paint penetrates more in some areas and less in others. Adding a finishing coat on top does not solve anything if the base is not uniform.
The solution involves applying a primer coat over the entire surface. This primer seals the porosity gaps and provides a homogeneous base for the finishing coat. Without this step, even a perfectly handled roller will leave marks where the wall “drinks” the paint. To delve deeper into correction techniques, it is helpful to consult the site construction-batiment.eu, which details several scenarios.
Correcting roller marks on dry paint: sanding and touch-ups
When the paint has dried and the marks are set, there are two options depending on the severity of the problem.
Light sanding for localized buildups
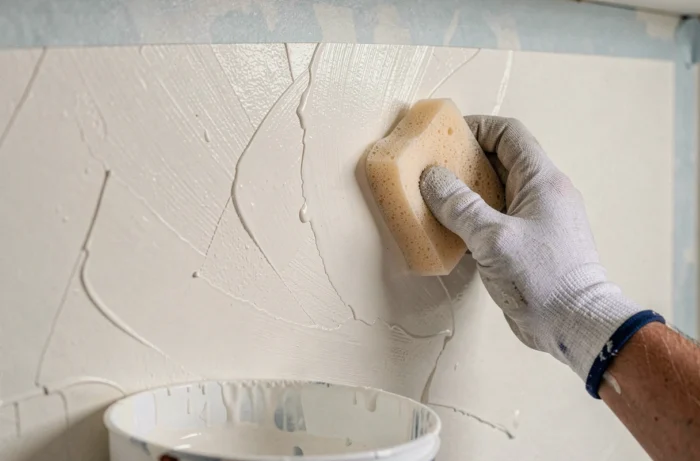
A fine-grit sandpaper, used with regular circular motions, flattens the bumps left by the edges of the roller. The pressure should remain light to avoid digging into the substrate or penetrating the paint layer. Then dust off with a damp cloth before any touch-up.
Repaint the entire wall rather than a localized touch-up
A localized touch-up often remains visible, even with the original paint. The finish, the age of the can, and the room’s lighting affect the blend between the touched-up area and the rest of the wall. Before proceeding, test on a small area, let it dry completely, and then observe the result in the room’s usual lighting, not just in direct light.
If the blend is noticeable, repainting the entire wall up to its natural edges (corners, door or window frames) remains the only reliable method to achieve a uniform result.
Application technique: gestures that eliminate marks
The roller itself and how it is handled are the two factors that the painter directly controls. A few basic rules can radically change the quality of the finish.
- Load the roller evenly: dip it in the tray, then roll it on the grid several times. An overloaded roller deposits too much material, while an overly wrung roller creates gaps and requires going over it again.
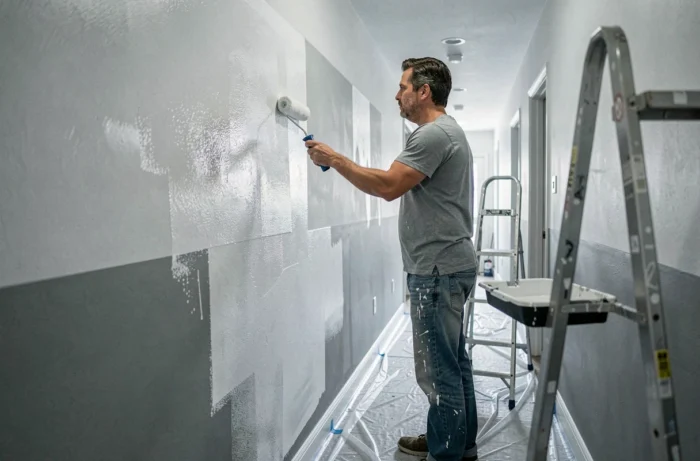
- Apply the paint in crossed passes: first vertically to deposit the material, then horizontally to stretch it, and finish with a light vertical smoothing without reloading the roller. This final gesture evens out the thickness.
- Work in areas of about one square meter, always fresh edge to fresh edge. If the edge of an area starts to dry before the next one is tackled, the touch-up will be visible. In acrylic paint, this margin is measured in minutes.
- Maintain a constant pressure on the roller. Pressing harder at the end of the stroke, when the sleeve is almost empty, concentrates the paint on the edges and creates the famous parallel lines.
Choice of roller and room conditions
The length of the roller’s nap dictates the type of finish achieved. A short-nap roller is suitable for smooth surfaces and satin or glossy paints. A long-nap roller deposits more material and leaves a more pronounced texture, suitable for textured walls but counterproductive on smooth drywall.
A worn roller, with fibers crushed or clumped by poorly cleaned old paints, can no longer distribute the material evenly. Replacing a sleeve is inexpensive and significantly changes the quality of the result.
Temperature and drying
In a room that is too hot or too drafty, the paint dries on the surface before being smoothed. The film sets with the irregularities left by the roller. Conversely, a room that is too cold or very humid slows drying to the point that the paint runs and forms drips.
Painting in a temperate room, without direct drafts, allows the paint to stretch naturally. Closing the windows during application and the first phase of drying is sufficient in most cases.
Raking light and evaluating the final result
Raking light (a lamp placed on the floor or held close to the wall) accentuates every relief, every bump, every buildup. It is a valuable diagnostic tool for spotting marks before deciding to take action.
However, it does not reflect the actual lighting conditions of the room. Always evaluate the finish from the front, in the usual light, before declaring that the wall needs to be redone. Marks visible in raking light may be imperceptible in daily life, which avoids unnecessary sanding or an additional coat.
Marks that reappear despite several coats sometimes indicate a moisture problem in the substrate. Blisters or peeling confirm this hypothesis. In this case, cosmetic touch-ups are useless until the underlying cause (infiltration, rising damp) is addressed.
Eliminating roller marks relies less on purchasing expensive equipment than on preparing the substrate and mastering the technique. A properly primed wall, a roller suited to the surface, and applying fresh edge to fresh edge resolve the vast majority of cases.